The primary benefit of using Memosens digital sensors with a portable meter is that the calibration data is stored within the sensor head and not in the transmitter. This allows us to perform an offline calibration in an environment and at a convenient time for the operator. No more calibrating pH sensors in bad weather, inopportune times, or hazardous areas.
What You Need
To perform a calibration, you will need:
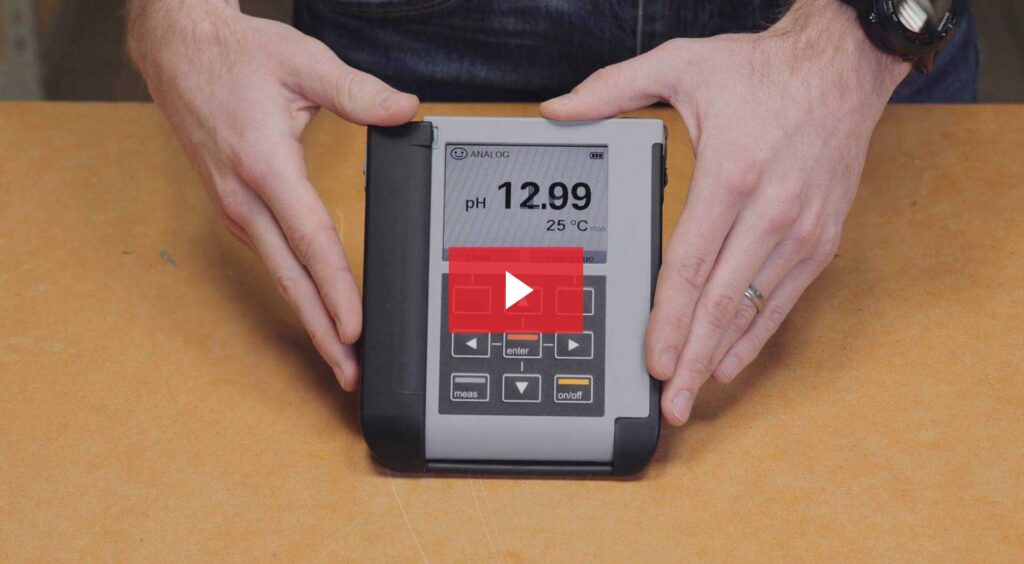
- Portavo 907 Multi portable meter
- Memosens Portavo cable,
- Memosens pH sensor,
- At least two buffer solutions in clean containers
- Rinsing water
- Clean cloth for drying the sensor
The Setup
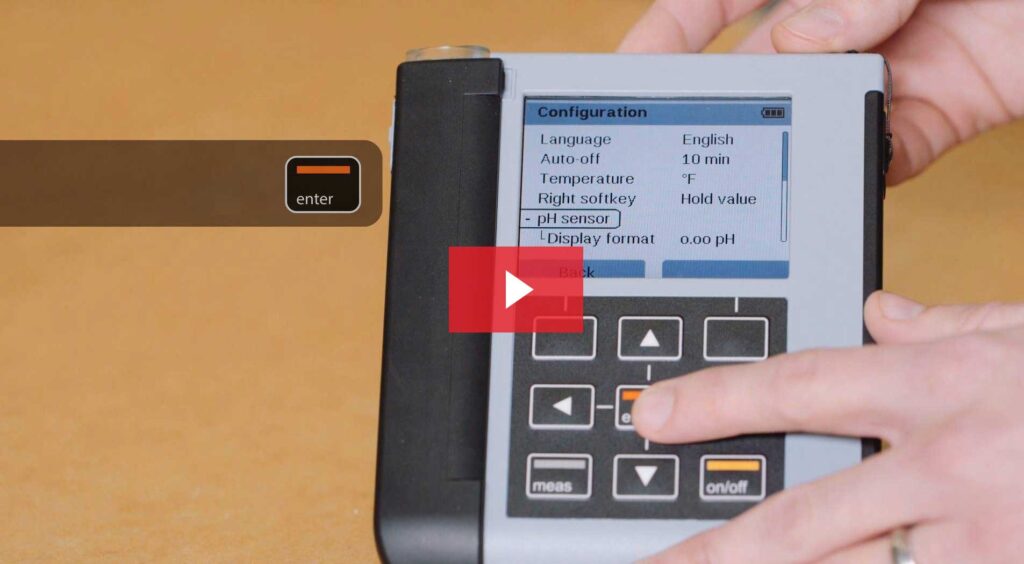
Before you begin the calibration process, you must connect the Memosens Portavo cable to the portable meter and the sensor. Next, turn the Portavo on and make sure that the setup and configuration of the portable meter have been performed. This can be verified by pressing the measure button twice to ensure that the date and time are correct. If this is incorrect, please watch our Portavo 907 Multi Setup & Configuration video before performing your calibration.
To start the calibration process, press the upper left button to go into the main menu screen on the Portavo. Then navigate to the calibration menu and select enter. There are three options for the Cal Mode. We recommend Calmatic or automatic calibration, with at least two calibration points.
In Calmatic mode, buffer solutions are automatically recognized and compensated based on the temperature reading from the integrated temperature detector. Once you’ve selected Calmatic under the calibration mode, you’ll see that it offers us the ability to choose which buffer set we are using.
When in Cal Matic mode, the Portavo has ten common preset buffer sets. All sets are pre-programmed in the Portavo with temperature compensation tables. Note that the most common buffer on the market is NIST Technical. You can verify your buffer set by checking the labeling on your bottles.
Select Calmatic
Next, press the upper right button to start the process. The calibration process on the Portavo 907 Multi is very intuitive and straightforward. First, it prompts you to dip the sensor in the first buffer solution. After that, it does not matter which buffer solution you start the process with automatic calibration.
I will begin our calibration using a buffer 7. I’m using the CaliMat buffers, which utilize an integrated dosing cup on the top of the bottle for single-dose usage. If you’re not using Knick CaliMat buffers, put your buffer in a separate container for accurate calibration and prevent cross-contamination. We recommend a fresh buffer solution for each calibration for accuracy.
Using Buffer Solutions
To begin the process, dip the sensor in the first buffer solution and stir lightly. The immerse the sensor’s junction fully in the buffer (about one inch of the sensor). It’s also vital to let the values on the top of your Portavo screen stabilize.
Once the values have stabilized, press the continue button. After pressing the continue button, the Portavo checks the drift of the first buffer solution. As you can see, it displays the millivolt output generated by the sensor in the first buffer solution and the measured temperature value.
The Portavo automatically indicates a buffer value of 7.0 based on the millivolt output of the sensor. Once it is finished with the first buffer solution, the Portavo then prompts us to go ahead and dip the sensor in the second buffer.
You’ll now want to rinse the sensor with the cleaning solution, such as distilled water, before putting it in the second buffer solution. Then dab it dry and be very careful not to rub the glass bulb. Now repeat the process in the second buffer. Once again, stir lightly and make sure to completely immerse the junction. Again, the pH and temperature value must stabilize before we press Continue.
Once the values have stabilized, we can press the continue button on the Portavo. The meter will now check the drift of the second buffer, automatically indicating its value and again displaying the millivolt and temperature.
Complete the pH Calibration Process
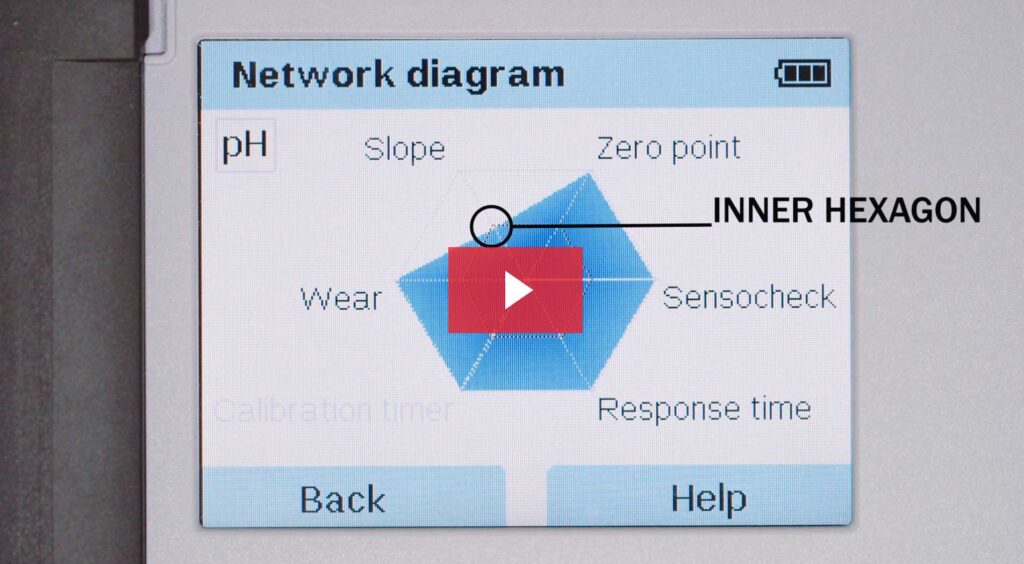
Once the process is finalized, you can see that the Portavo provides a summary of the calibration results. The smiley face in the top left corner indicates a good calibration. Next, you can see the specific values of the calibration – zero point, slope, and response time of our sensor. Finally, a pictograph above these values indicates the two points that we use during our calibration procedure. Here you can see the arrows showing the buffer values of four and seven used. We can now press apply, write the calibration data to the Memosens sensor head, or discard to begin the process again.
This completes the offline calibration process of our Memosense pH sensor. As you can see, we took less than two minutes for this calibration and performed it conveniently right here in our workshop. We can now store this sensor on the shelf with the rest of our pre-calibrated Memosens sensors.
It’s now ready for field exchange at a moment’s notice.