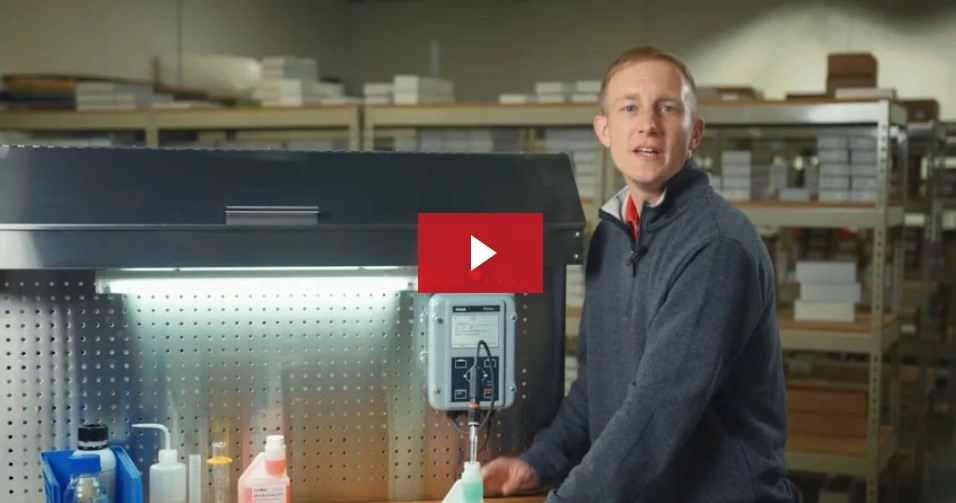
Learn some tips on basic troubleshooting of your Protos 4400 transmitter as well as the connected Memosens sensor.
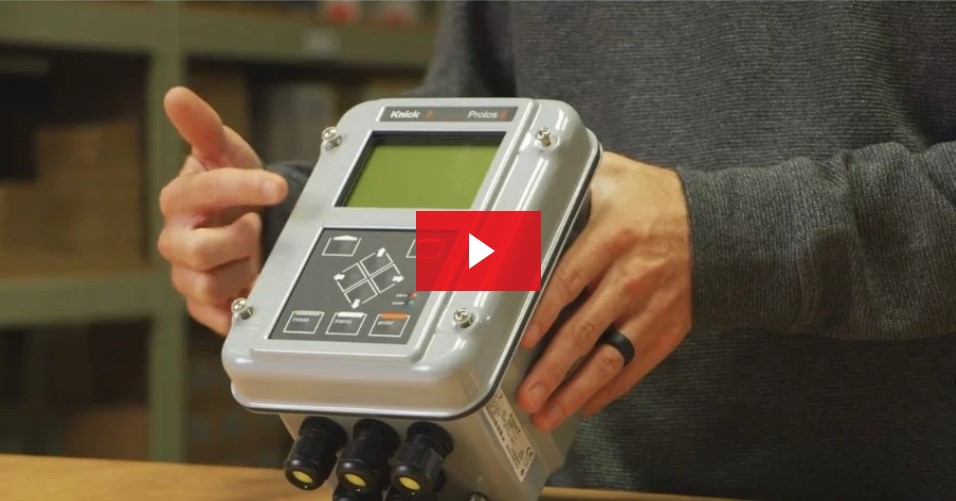
Intuitive Diagnostics
The Protos 4400 transmitter provides intuitive diagnostics, which indicates the operating state of your measurement loop. Statuses are clearly indicated via NAMUR NE 107 icons on the display screen. Here you can see that our transmitter display has an X icon flashing. This is an indication that we are in alarm mode and that further messages are available.
Message List
By pressing the right softkey to access the Favorites Menu, we can go into the message list to view the errors which we are experiencing. Here we can see several errors which are caused by both channels having disconnected sensors. The errors are indicated by a code followed by a brief description. Further information and tips on fixing the issue are located in the error message section of the transmitter’s manual.
Sensoface
Let’s start by connecting our sensors. When troubleshooting a Memosens sensor, the first place to start is the Sensoface display on the main screen. A smiley face indicates that all is well with the health of your sensor, a neutral face indicates that the sensor needs attendance soon, and a frown indicates that the sensor needs maintenance or replacement. You may also notice additional icons displayed on the main screen further pointing to the issue at hand. Again, the message list will assist you on what to do next.
Diagnostics Menu
To further diagnose your Memosens sensor we’ll want to enter the diagnostics menu in the Protos 4400. We will do so by pressing Menu, and then navigating to the right to diagnostics, and pressing enter. Please note that you have the ability to set up any of these options as a favorite. Within the diagnostics menu, we have the option to view the sensor diagnostics for channel one in our transmitter. Here we can view specific sensor information in a text format.
Sensor Information
Raw sensor values are accessible under sensor monitor. You can view the calibration and adjustment record here, along with the sensor wear monitor. The sensor wear monitor gives an in-depth look at the number of operating hours on the sensor, the percentage of wear, and most importantly how many days of life we have left on our sensor.
For a quick analysis on the condition of your connected sensor, use the sensor diagram when troubleshooting pH, ORP, and oxygen sensors. The Sensor Diagram provides single glance information on continuously monitored sensor parameters. The parameter values in the diagram should lie between the outer 100% and enter 50%. When a value enters the inner portion of the diagram, the corresponding caption text flashes and you should attend to the sensor.
You may be able to remedy the situation by cleaning and calibrating the sensor, or the sensor may need replacement. If followed properly, these tips will ensure a healthy and reliable measurement loop along with getting the most life out of your sensor.