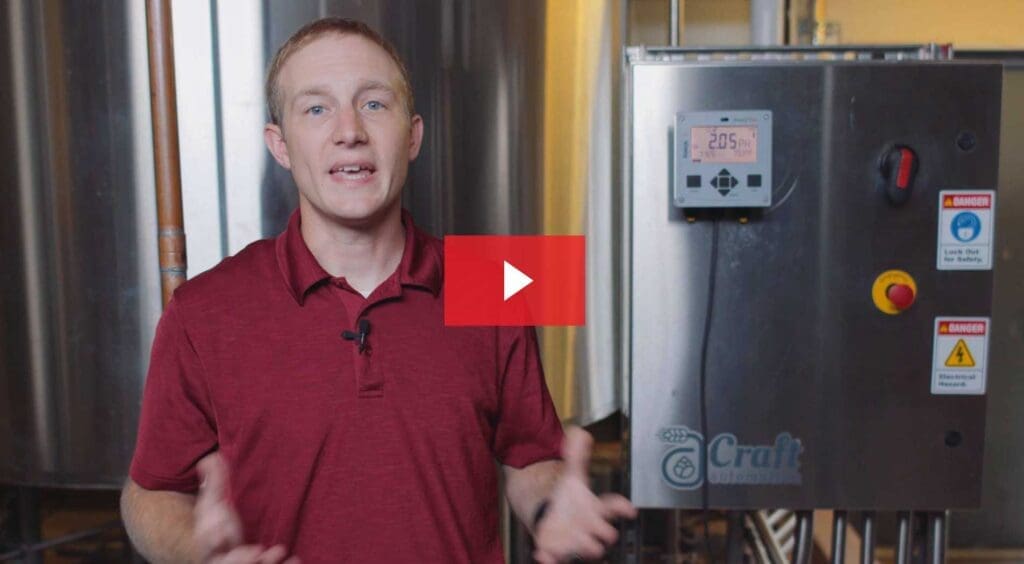
Let’s walk through the Knick Stratos Evo setup and configuration at 50 West Brewery in Cincinnati, OH. This Memosens pH loop will be measuring and control the acid dosing of the incoming water. This ensures the water is within specification prior to the start of the brewing process.
Stratos Evo Setup
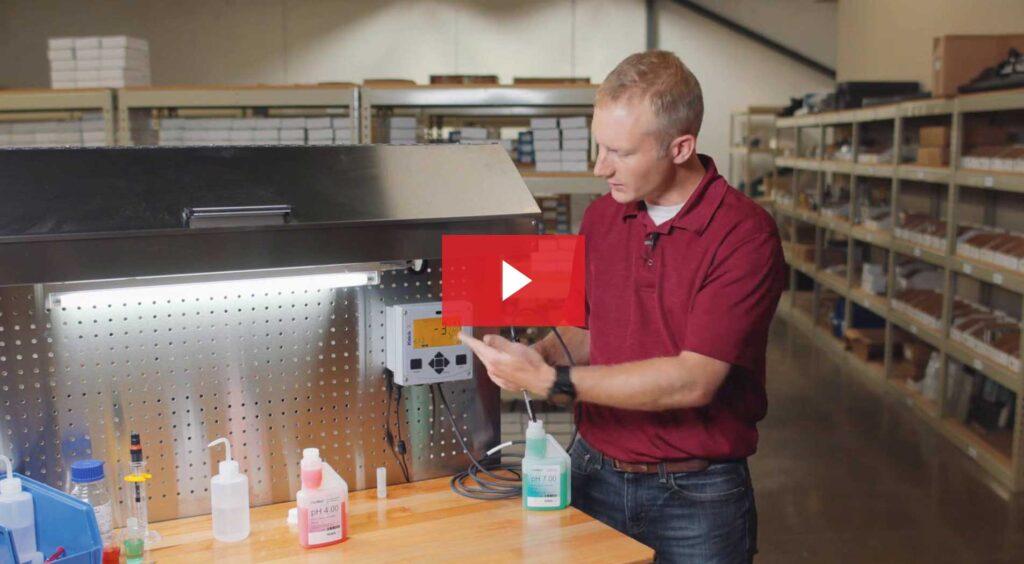
Before you begin, ensure that your power supply, Memosens sensor, and any outputs that you are utilizing are connecting to the main terminal block on the transmitter.
Sensor Configuration
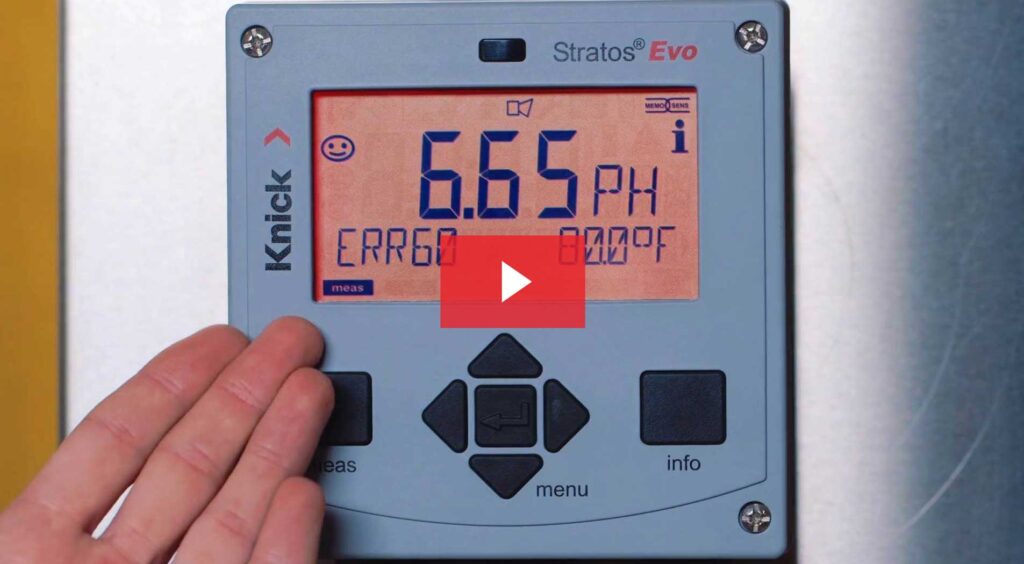
Let’s start by configuring your sensor within your Stratos Evo transmitter. You’ll notice that we currently have an error and the screen is red. This is because we have not yet configured the transmitter for a Memosens sensor. First press the Menu button and then toggle to the right to Configuration. Pressing Enter, you will see the two-parameter sets available. This allows you to program each parameter set to different measurement situations. This is useful for instance in batch processes which may have different characteristics for each batch. You can then change the parameters via an external input into the transmitter.
We’re going to configure Parameter Set A. You’ll notice once we enter the parameter set the transmitter enters a hold mode. The backlit display changing to yellow and the hold icon on the screen will indicate this. Hold mode ensures that your control system does not receive erroneous values while you’re configuring the transmitter.
Next, press Enter to select Sensor. In this menu, you will choose the type of sensor you’re connecting. We will select Memosens and press Enter. You will see that after connecting a Memosens sensor, it identifies the sensor and gives the make and model. The next parameter is the setting for temperature display. We will select Fahrenheit and press Enter. This is followed by the type of temperature measurement automatic or manual, along with the temperature calibration method. We will select Auto for both to ensure that temperature is automatically compensated when making the measurement.
Calibration and Buffers
Next, we see the calibration mode for our pH sensor. We recommend Auto which provides automatic buffer recognition in temperature compensation of the buffers. You will see that once we select Auto under the calibration mode it offers us the opportunity to select which buffer set we are using. The most common buffer set on the market is NIST Technical which is Option 4 in the transmitter. You can verify your buffer set by checking the labeling on the bottle. The calibration timer allows us to set either a fixed interval or an adaptive evaluation based on sensor loads for an indication that calibration is needed.
Next, we have the ability to turn on both the CIP and SIP counters. With these features turned on, the transmitter will log the number of cleaning and sterilization cycles that the sensor has been exposed to. Lastly are the check tag and check group features. These features are beneficial to ensure that the particular sensor or group of sensors is only used at this measurement point.
Output Configuration
After we have configured our sensor, we can now configure our outputs to our control system. Here you have the ability to set up the two 4…20 mA outputs provided by the Stratos Evo transmitter for our desired pH and temperature range. Within the output configuration, we can also apply a filter time for dampening as well as set the failure mode to drive the output to 22 mA. Toggling to the right, you can also see the additional features and relays that you can configure within the Stratos Evo.
Alarm & Clock
Two very important menus that you should always configure are the alarm and clock menus. Let’s select the alarm. You will see that you can now define a delay time before the transmitter goes into an alarm mode. We will select Enter for a 10-second delay. Next, you will see the Sensocheck feature. We recommend turning this feature On for more intuitive diagnostics such as the Sensoface indicator, as well as additional icons which referred to specific errors.
Lastly, the Clock Menu is a very important menu to configure. Doing so ensures proper information writes to the connected Memosens sensor.
We’re now ready to return to measurement mode and go online. This rounds out the setup and configuration of the Stratos Evo transmitter.