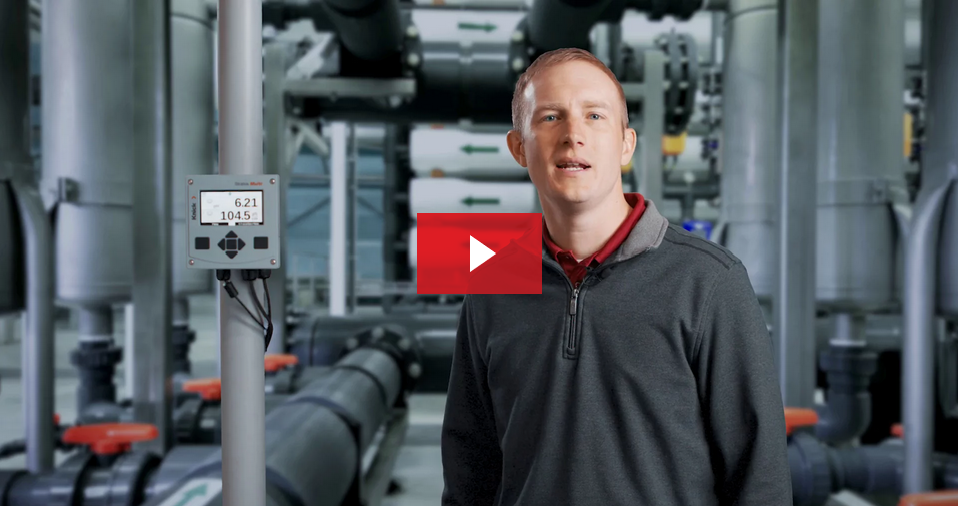
Learn how to do an offline calibration on Memosens pH sensor with auto-calibration on the Stratos Multi.
Offline Calibration
We will perform the calibration offline in a controlled environment right here in our workshop. Our connected pH sensor is a Memosens smart digital sensor. The calibration will be written and stored in the head of the sensor. These steps can also be utilized when performing a calibration in the field.
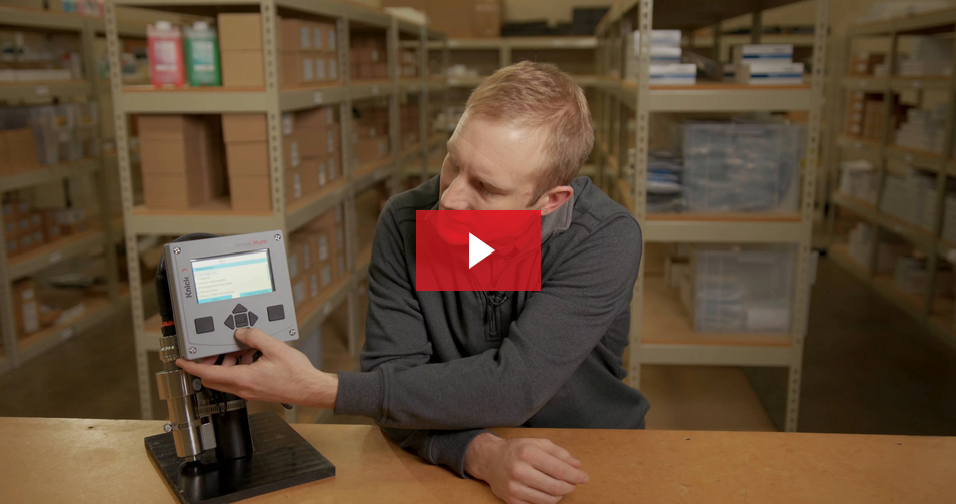
What You Need
To perform a calibration, you will need: a Stratos Multi transmitter, that has been powered up with a Memosens cable connected, a Memosens pH sensor, at least two buffers with clean containers to pour them in, rinsing water, and clean cloth to dab the sensor dry.
Calibration Menu
Let’s begin by pressing “Menu” on the main screen and then “Enter” on Calibration. If a passcode is blocking access to the Calibration Menu, please note that the default is “1147”. Once inside the Calibration Menu, we will select the Memosens pH sensor that is connected to Channel 1 of our transmitter. We will be conducting a “Calimatic” or automatic calibration today, but here you can see the different options available when performing a calibration.
The Stratos Multi also allows us to perform a manual calibration, a product calibration or single point standardization, adjustment of the electrode’s slope and zero point via data entry, and lastly an adjustment of the internal temperature detector. Be sure to select Calimatic here before proceeding further. Under the number of Calibration points, we will select “2- point” and then move on to the selection of our Buffer Set.
Buffer Set
As we are performing an automatic calibration, it’s important that we select the proper buffer set in the Stratos Multi. This ensures automatic recognition of the buffer value as well as automatic temperature compensation during the calibration process. The Multi has numerous buffer tables stored within its software for the operator to select. It is important to note that NIST Technical is most commonly used, however you should always cross check the verification of your buffer values against the values at the bottom of the screen. A nice feature, which is also available for selection, is the ability to select a “user-defined” buffer table. We will select the Knick CaliMat buffers and press “Enter” to continue.
Hold Mode
Once we are ready to preform our calibration process, we will press enter on the “Proceed” button to move on. As you can see, once the calibration process begins, the transmitter enters a “hold mode,” holding the output back to our control system. The Namur “wrench” icon in the top left corner of our display screen indicates this as well.
First Solution
Here, we get a prompt to rinse our sensor with DI water and place it in our first buffer solution. We will do so and place our sensor into the buffer 7. Be sure to immerse the entire pH measuring bulb along with the sensor’s junction into the buffer. We will stir lightly and then press the “Next” button. After pressing “Next,” the transmitter will begin to check the drift in the first buffer solution. You can see that the transmitter automatically recognizes the buffer value, displays the raw pH voltage value along with the measured temperature, and the response time of the electrode in the buffer.
Second Buffer
Once finished in the first buffer solution, the transmitter will prompt you to again rinse the sensor and immerse it in the second buffer. We will do so and then place our sensor in the buffer 4 solution. Again, stir lightly and press “Next” to proceed. As with the first step, you can see the transmitter automatically recognizes the second buffer value, and displays the pH voltage, temperature and response time.
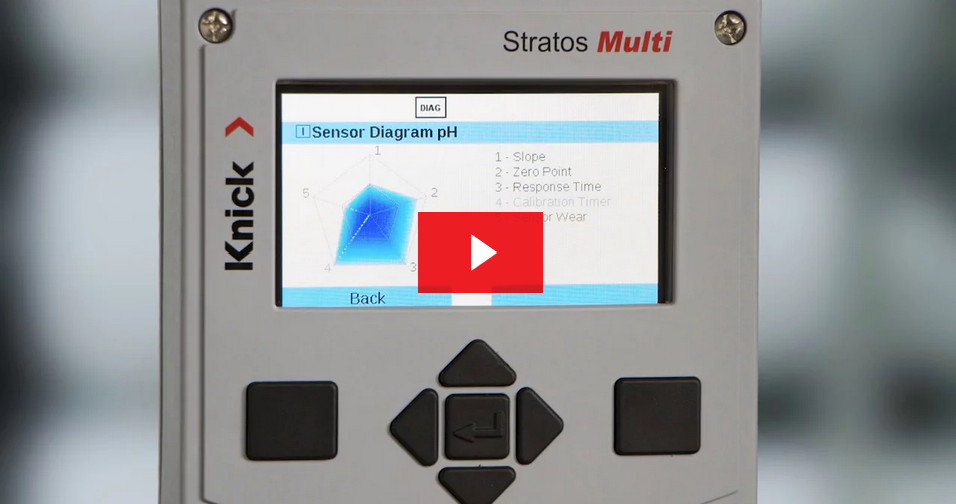
Calibration Record
Once complete in the second buffer, our Stratos Multi now displays the specifics of our calibration record. A pH chart at the top of the screen indicates the two buffers we used – 4 & 7. Next, we have a timestamp of our calibration, followed by type of calibration we performed, as well as the specific values of our zero point and slope of our electrode. Lastly, we have the SensoFace icon in the top left corner of the display indicating the status of our calibration.
Finalizing the Calibration
Here you can see, we have the opportunity to select either “Calibrate” or “Adjust”. Please note that only selecting the “Adjust” button will write the data into to the head of the sensor. Selecting “Calibrate” here will not make adjustments to the sensor and will return you to the main calibration screen. We will select the “Adjust” button to make the changes to our sensor and finalize the calibration process.
We are now ready to go online with our measurement or disconnect our calibrated sensor for future use in the field. Be sure to check out our other videos on the Stratos Multi transmitter.
[vc_row][vc_column width=”1/1″][vc_widget_sidebar sidebar_id=”ups-sidebar-1704″][/vc_column][/vc_row]