Accurate pH readings are critical in any manufacturing process, and it all starts with a properly calibrated sensor. Inaccurate calibration can lead to several negative results for your process, the worst of which being unnecessary downtime or even a premature replacement of the sensor entirely. There are several key factors to keep in mind to avoid rushing through a calibration and risking inaccuracy.
Use this quick-reference checklist to make sure you have everything in place before, during, and after pH sensor calibration.
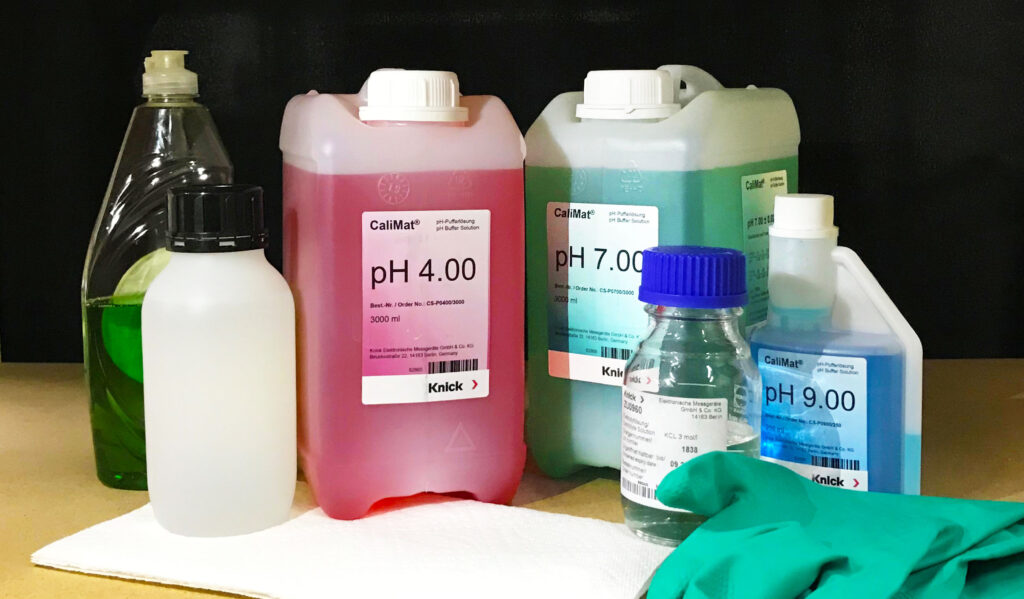
Materials Checklist
- ☑️ pH sensor wetting cap
- ☑️ Buffer Solution (ensure the pH values are correct for your application and the buffers are not expired)
- ☑️ Clean containers to pour the solution in (not styrofoam)
- ☑️ Deionized Water
- ☑️ Non-abrasive cloth
- ☑️ Portable Meter or Transmitter
Pre-Calibration Checklist
Check the Sensors Condition
- First, make sure the sensor isn’t damaged in any way. Ensure that the senor has been properly stored and the bulb is hydrated.
- You want to be sure the glass body is free of any cracks or damage, as a broken sensor can lead to more issues than just inaccuracy.
- Then, allow the sensor to acclimate to the temperature of the lab or area where the calibration is being conducted. Moving sensors from multiple areas with vast temperature differences can skew the temperature compensation of the pH reading.
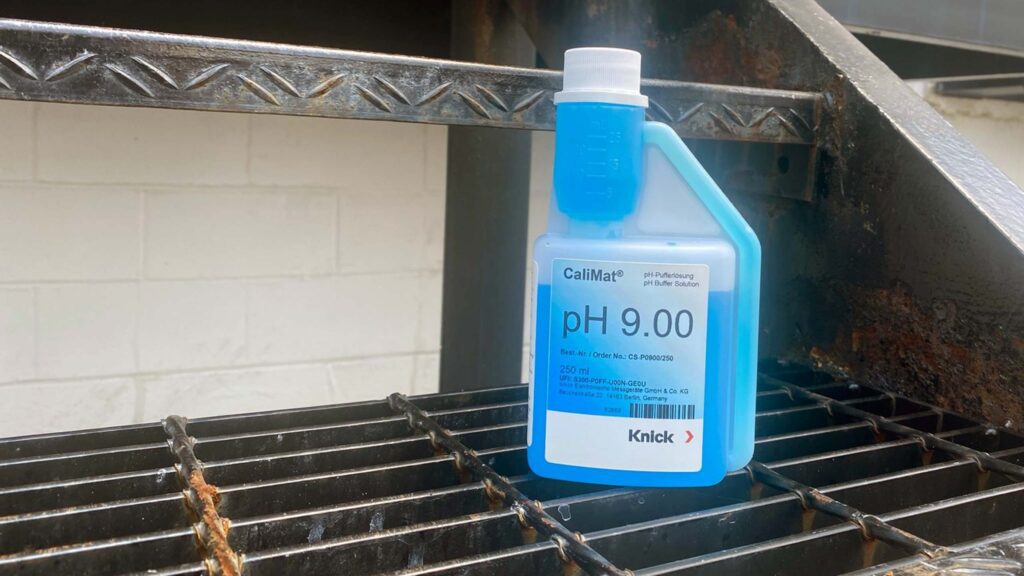
Buffer Solution
- Be sure your buffer solutions are not only the correct pH level, but also that they are not expired. Expired buffers are prone to drift, and will therefore provide inaccurate calibrations.
- Expiration dates on Knick buffer bottles are prominently labeled on the bottle cover.
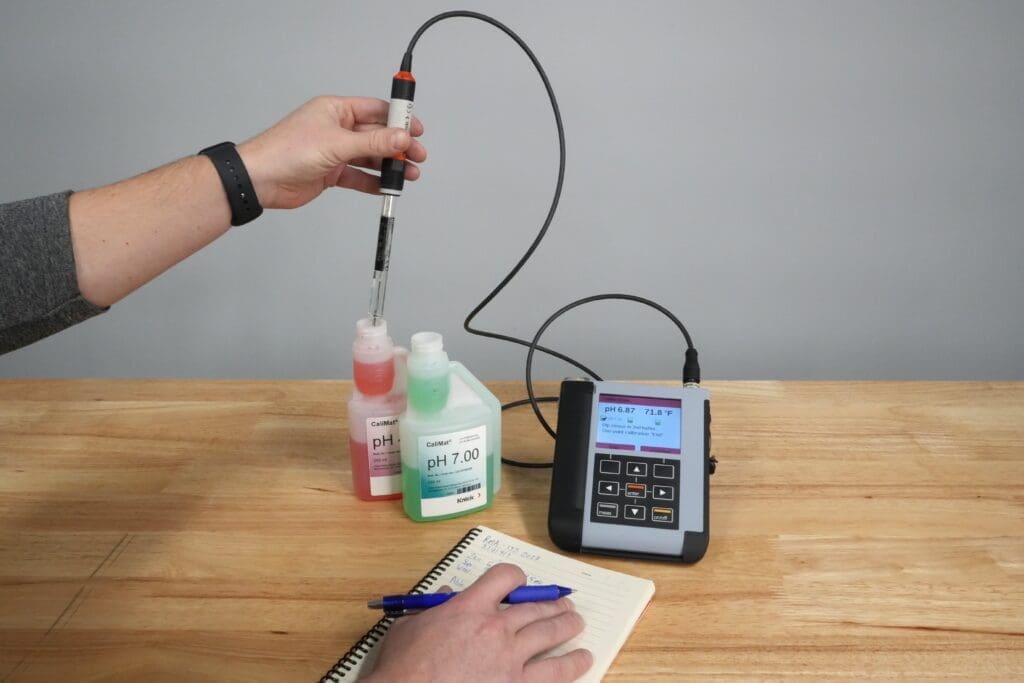
Procedure: Two or Three Point Calibration
- Assuming you’re conducting a two-point calibration, you’ll dip the sensor into the first buffer. Allow the sensor to stabilize at the pH level shown on the buffer.
- Once stable, you may remove the sensor from the buffer and blot dry the bulb with your non-abrasive cloth.
- Refrain from aggressively wiping the bulb with the cloth to avoid any static charges or impacting the hydrogen ion-sensitive layer around the bulb.
- Repeat the process with your second buffer (and third if you’re conducting a three-point calibration).
- Again, do not remove the sensor from the buffer solution until the reading on your transmitter/portable meter has stabilized on the pH level indicated on the buffer.
Pro Tip: While you want your transmitter or portable meter to read at exactly the buffer’s pH, a margin of .01 is acceptable, depending on user application needs.
Post-Calibration Checks
To ensure your calibration has been successful, you can run some diagnostic checks using the sensor network diagram that are available in Knick transmitters and portable meters.
Diagnostics to confirm:
- Slope (ideally between 85-100%)
- Zero point (should be close to pH 7)
- Response time (quick and stable readings at 20-30 seconds)
If you see any values out of range, re-check the buffers, inspect the sensor condition, and try calibrating again.
Download the pH Calibration Checklist
Proper pH sensor calibration ensures equipment and your process are running smoothly. For step-by-step video tutorials and expert calibration tips, check out our YouTube channel. Have questions or need help selecting the right equipment for your process? Give the M4 Knick team a call at (513) 833-2500—we’re here to help.