See what is included when you unbox your Stratos Evo, and get an overview of the terminal block, keypad, and multi-color display.
Stratos Evo Overview
Today I’m going to give you an overview of the Stratos Evo multi-parameter transmitter from Knick. The Stratos Evo is a general purpose 4-wire transmitter capable of taking up the two sensor inputs for the measurement of pH, ORP, conductivity, and oxygen. When in use with Memosens smart digital sensors, it provides intuitive and advanced diagnostics to help you better understand the health of your measurement loop.
What’s in the Box
Let’s take a look at what’s inside the box when you receive your Stratos Evo transmitter. As you can see we have the NEMA 4X rated transmitter faceplate, accessory bag with plugs, cable glands, and the hinge pin for the transmitter, documentation which includes the manual, safety instructions, and a test report for the transmitter. Finally we have a CD-ROM which includes electronic copies of all the documentation as well as device drivers and DTMs for the Stratos Evo.
As we mentioned, the Stratos Evo is truly a multi-parameter transmitter. This single transmitter can measure pH, ORP, conductivity, or oxygen.
Configuration
Let’s start by taking a look at the back of the faceplate. You’ll notice that the electronics are completely enclosed to protect the circuit boards from the elements. There is also an additional slot for a measuring module. This module, which you can purchase separately, allows the connection of a traditional analog sensor as well as the second Memosens input.
Terminals
Reviewing the terminal block, you’ll see that your power supply connects here on the main rail. The Stratos Evo uses a universal power supply and can be powered anywhere from 24 volts DC up to 230 volts AC. A convenient feature of the transmitter is that it’s polarity insensitive, so you can use either terminal for connection of the positive and negative wires.
Next on the rail are the terminals for the relay contacts. The Stratos Evo provides 4 relay contacts. The first of which is dedicated to a wash cycle, next an alarm, and the third and fourth dedicated to high and low limit detection. Next are the digital inputs. The digital inputs can monitor flow, change parameter sets within the transmitter, or place the transmitter into hold mode. Hold mode simply holds the transmitter output to a desired setting programmed by the user.
Then there are two 4…20 mA outputs. The first of which carries the HART protocol and a 4…20 mA input for an external temperature sensor. The last terminals are for our Memosens RS-485 sensor connection. Terminal 4 is for the ground and shield (or white and clear wire), terminal 3 is for the yellow, terminal 2 is green, and terminal 1 is our brown wire. Once we’ve completed our wiring, let’s close up the transmitter and apply power.
Display
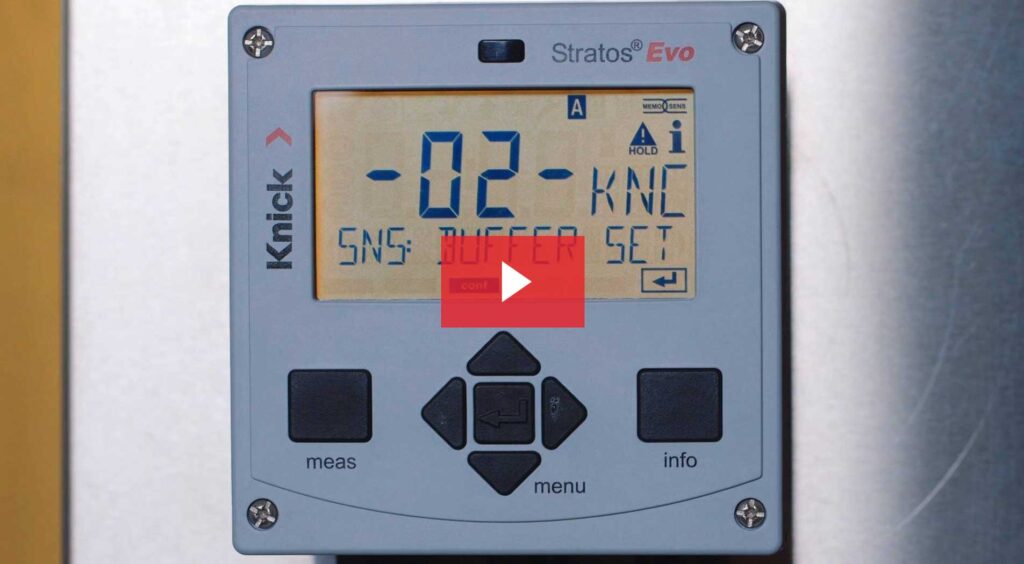
The Stratos Evo has a bright backlit multicolored display. The screen will change color for a quick indication of a change in the sensor status or if you open new parameters within the transmitter. The screen is now red because it cannot find a connection to the sensor, so let’s connect our sensor and see what happens. When a Memosens sensor is first connected, the screen will turn green and the transmitter will indicate the model and serial number of the sensor that’s connected. The transmitter will then change to a white screen indicating that the loop is now in Measuring Mode.
Buttons & Navigation
Let’s now take a look at the buttons on the face of the transmitter. First is the Measure button. You can press the Measure button when on the main screen to toggle through the different displays. When you dive into different settings on the transmitter, the Measure button also acts as the back button. On the right-hand side of the transmitter is the Info button. Use this button when you see the “i” on the main screen indicating that there’s additional information.
Next is the Menu button. This button is in the shape of a downward arrow. Use this button to enter into the settings of your transmitter. Within the different menu screens you will navigate by using all four arrows moving left right or up and down to change the values. Lastly, there’s the Enter button. This button is in the middle of the transmitter and confirms any adjustments that you make.
Please continue to learn more about your transmitter and how to program it for your application by watching our next video on Setup and Configuration of the Stratos Evo transmitter.
[vc_row][vc_column width=”1/1″][vc_widget_sidebar sidebar_id=”ups-sidebar-1704″][/vc_column][/vc_row]