Learn how to quickly set up and configure your Portavo 907 Multi portable meter for pH, ORP, conductivity, and oxygen sensors.
Default Language
Once you’ve installed the batteries, let’s go ahead and power on the device by pressing the on/off button. You will notice that the default language is in German. To change this, press the Menu soft key and toggle to the far right to Configuration. Pressing entered twice will enter the screen for the different language options. We will select and confirm English by pressing enter.
Configuration
Next let’s configure the Auto-off function. This prevents depletion of the battery in case the device is left unattended. We’ll toggle down to Auto-off, press Enter, and then select ten minutes. Another option to change is the unit of measurement for temperature. By toggling down to temperature and pressing enter, we can select between Celsius and Fahrenheit.
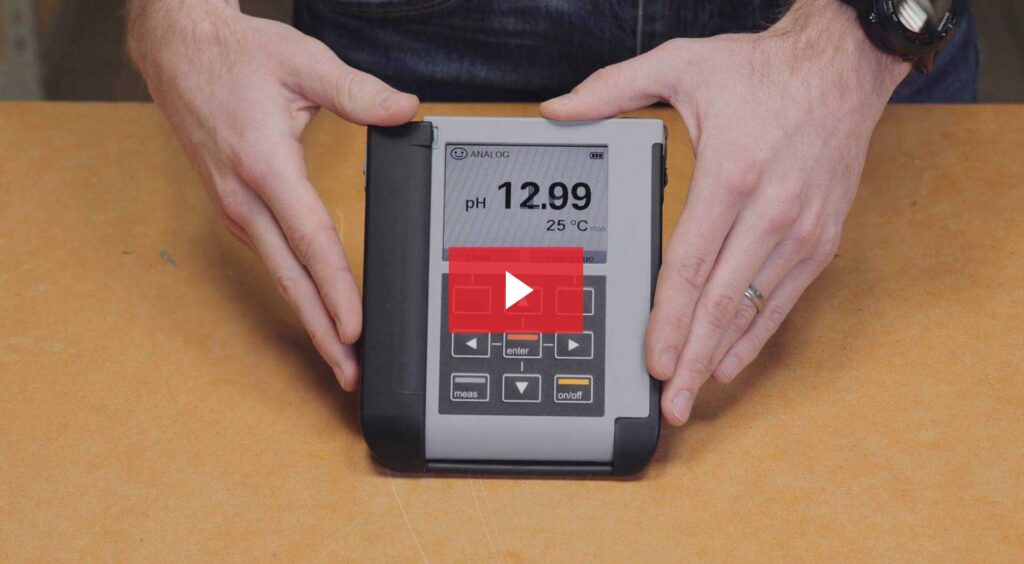
Next you can choose the function of the right soft key on the main display screen. You have two choices here: you can start and stop the data logger, or hold the measured value. The next feature is for the display type of the measurement which you are making. In this instance we have pH. Here, you can select the number of digits after the decimal point of the measured value.
Calibration Menu & MemoLog
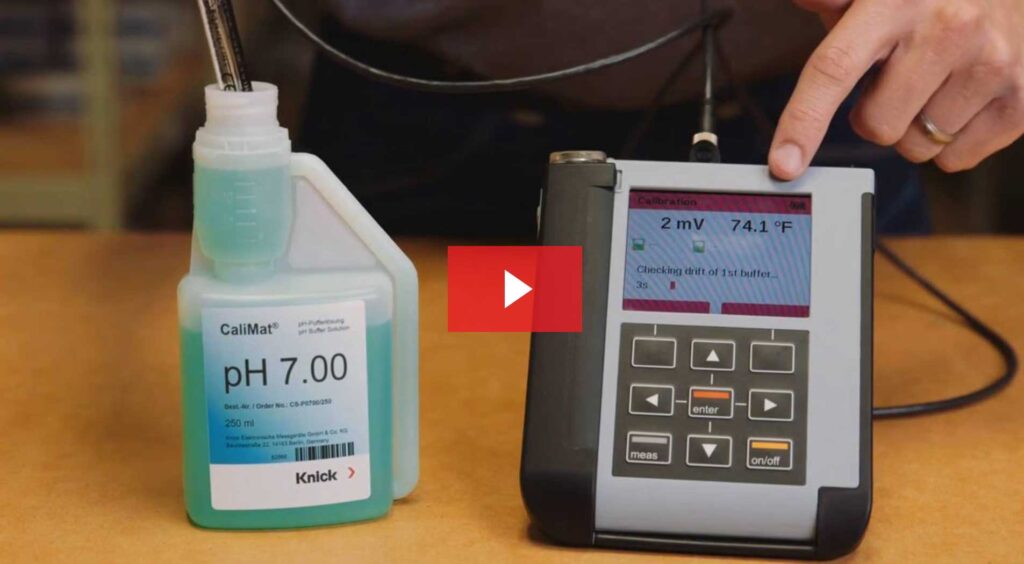
Next is setup of the calibration menu. The options here are dependent upon the type of sensor which you have connected. For a pH sensor, we can select the type of calibration, whether it is automatic or manual. We can also select a number of points for our calibration, as well as turning on or off MemoLog. MemoLog allows you to collect the last 100 calibrations in your Portavo, which can then be exported into our software through the USB cable. You can find out more about this in our calibration video on the Portavo 907 Multi.
Other Settings
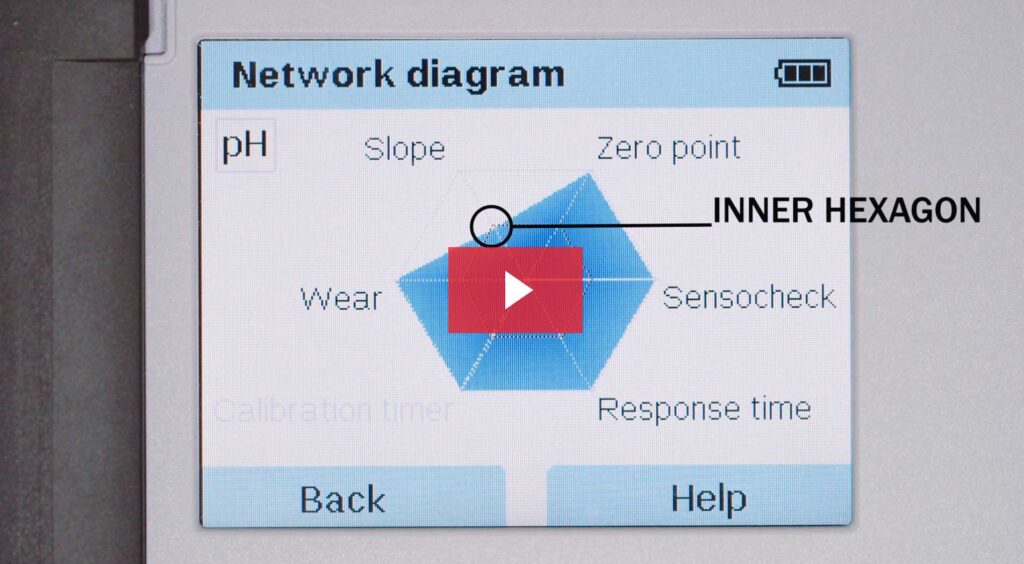
Next is the date and time. It is very important to configure the date and time, as this directly affects the diagnostics capabilities with Memosens sensors. Then we have the display. Here, we can adjust the brightness and the appearance of your Portavo screen. The data logger settings can be viewed in the configuration menu. And lastly, we can restore our Portavo to its original factory settings in the option tab.
Now let’s press the measure button once to return to our main screen. You’re now ready to calibrate your sensor. Thank you for watching, and please be sure to check out our next video to see just how quick it is to calibrate using the Portavo 907 Multi.